

Most tutorial Shorts are planned from the beginning forwards. The creator writes a hook, lists the steps, and only thinks about the ending when the recording is nearly finished. The result is a familiar shape: a strong first second, a busy middle, and a closing frame that happens to be wherever the last step ended, often a messy desk, a half turned object, or a screen frozen mid gesture. Viewers feel that drift even when they cannot name it.
Planning from both ends fixes the shape before you record anything. Decide the first frame and the last frame as a pair, then build the middle to travel between them. It is a storyboard method, not a promise about how any tool renders, and it works whether you shoot on a phone, record your screen, or generate supporting shots. Think of it as agreeing on the doorway and the destination before arguing about the corridor.
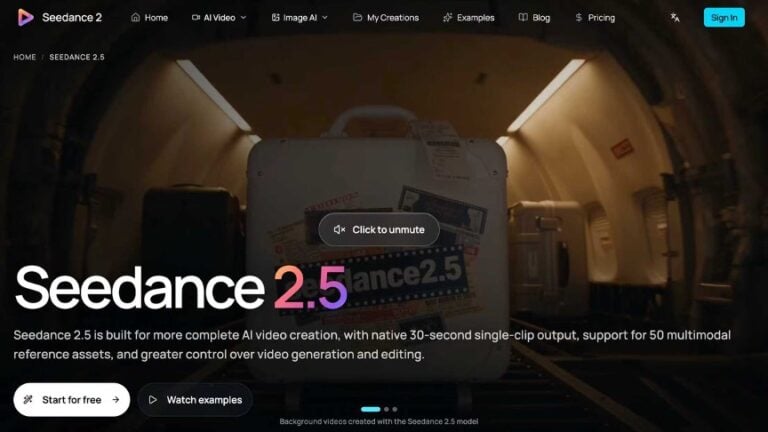
Some creators draft that closing frame early with a tool such as Seedance 2.5 for YouTube Shorts, then keep the draft beside the storyboard as a reference while filming the real steps.
Decide What the Viewer Should See at the End
Start with the last frame, because the last frame is the proof. In a tutorial, the final image should show the finished result clearly and calmly: the repaired hinge sitting flush, the edited photo at its final state, the cake sliced, the code running. If the viewer paused on that frame alone, they should understand what the tutorial achieved.
Write one sentence describing that frame in plain terms. Name the subject, its position, and what surrounds it. “The finished shelf, front on, level, with the plant back on top.” That sentence becomes a fixed point. Every earlier choice can now be tested against it: does this step visibly move us towards that exact picture?
There is a simple exercise worth doing on paper before any filming. Sketch or describe frame one and the final frame side by side, a first last frame check, and ask whether a stranger could tell they belong to the same short video. If the lighting, angle, or subject look unrelated, your middle will have to work very hard to join them.
Make the First Frame a Fair Promise
The opening frame has one job: show enough of the subject that the viewer knows what is being made, fixed, or explained, and wants the finished version. For tutorials, the most reliable opening is the result in progress or the problem up close, not a logo, a title card, or a wide shot of a room.
Hold the first frame to the same standard as the last. Describe it in one sentence, with the subject in roughly the position it will occupy at the end. If the Short will finish on the completed paper plane resting on the desk, open on the flat sheet of paper in that same spot. The visual rhyme between the two frames gives the whole clip a feeling of intention, and it costs nothing but a minute of planning.
This is where an understanding of YouTube Shorts structure helps. A Short is usually watched quickly, often without sound at first, and the viewer decides within a moment whether to stay. A clear opening frame and a promised result give that decision something solid to rest on, which matters more than any editing trick added later.
Work Backwards Through the Middle
With both end frames fixed, list the actions that connect them, in reverse. Start from the final frame and ask, what happened immediately before this? Then again, and again, until you reach your opening frame. Working backwards exposes gaps that forward planning hides, because each step must visibly produce the state that follows it.
Keep the list short. A Short has room for a handful of actions, and each one should change something the viewer can see. If a step changes nothing visible, it belongs in a caption, a comment, or the longer video this Short points towards. When an action is hard to film, such as an internal setting or a long wait, plan a simple representative shot instead, and be honest in the caption about what it stands for.
Tools can help draft those middle shots. Creators testing a generated clip for a transition or a background plate can use a draft to visualise a step before committing to a reshoot. New accounts receive free credits on sign-up, enough to generate one video, which is enough to test whether a generated middle shot actually matches your planned frames. Treat the output as a draft to judge against your two fixed frames, not as a finished tutorial asset. Label published generated shots as AI-generated illustrations, and use real footage for the tutorial’s steps and completed result.
Seasonal Shorts Need the Same Discipline
Holiday themed Shorts tempt creators to open on decorations and close on a greeting card. The planning method does not change. If the tutorial is a festive paper star, the last frame is the finished star hanging or lit, and the first frame is the folded paper where the star will be. Seasonal dressing belongs in the frame edges and the caption, while the subject keeps its position and the result stays legible.
Check Continuity in the Editor
Once the pieces exist, assemble them in your editor and do three passes. First, watch only the joins: does the subject jump position, change colour, or swap hands between shots? Second, mute the sound and watch the first and last seconds; the promise and the proof should read clearly without narration. Third, compare the actual final frame with the sentence you wrote at the start. If they differ, decide honestly whether the new ending is better or simply accidental, and reshoot or regenerate the weakest shot rather than trimming in a panic.
Small mismatches are normal and often fixable with a crop, a held frame, or a caption. What you are checking for is confusion, not perfection.
Keep the two frame sentences with the project files. When you cut a second version for a different platform, or return to the tutorial a month later for a follow up, those sentences tell you whether the new edit still opens and closes on the same promise. They also give anyone helping you a standard to check against, instead of a fresh opinion about what the ending should probably look like.
Plan the last frame first, promise it fairly in the first, and let the middle earn its place between them. A Short built that way feels finished because, from the first sketch, it was.

0 Comments